Disclaimer: There are affiliate links added in this Post. At no cost to you, we will get some commission for purchases made through those links.

Guide on how to connect a wireless mouse
Getting a wireless mouse is a big relief, especially when you grew up using a wired mouse and went through a bizarre headache of adjusting the cord. But if you owned a wireless mouse back then, it would be way easier.
It’s never too late, if you still haven’t got one, you can choose right away from our list of Best Wireless Mouse under $50. However, a wireless mouse does need some work to get connected with your system.
Without further ado, let’s just right on how to connect a wireless mouse with your system.
How to connect a wireless mouse
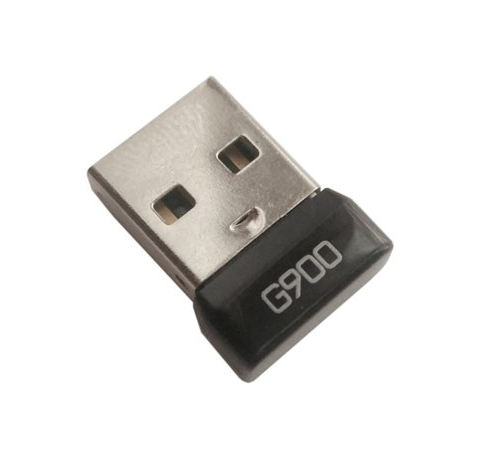
Most wireless mouse uses a Bluetooth connection with a small adapter that goes right in the teeny tiny space located at the bottom of your mouse.
If your mouse doesn’t have that adapter, then you need a Bluetooth-supported system or you can get a Bluetooth device. Let’s follow the below-listed steps to get your mouse connected.
- You need to have Windows 8+ installed on your computer for your PC to install automatic software for the mouse.
- Take out the adapter from the back of your mouse, and plug it in the computer.
- Windows will automatically detect the adapter and install required software for it.
- Move your mouse to check if the connection has been made and the mouse is working.
- Enjoy your new mouse!
For mice that don’t come with an adapter, you need to get a Bluetooth device if your PC doesn’t have it already and follow these steps. (You can easily get one from Amazon)
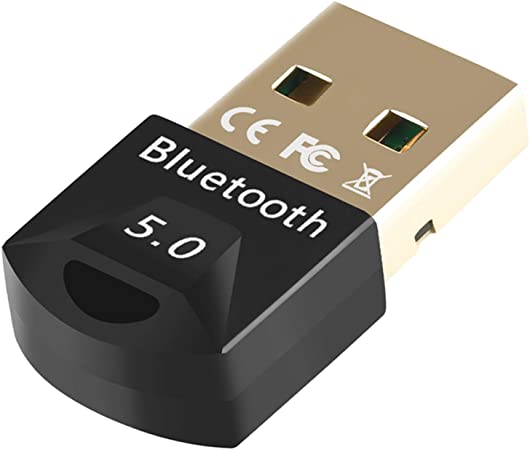
- Plug in the bluetooth device.
- Navigate to settings in Windows 10 > Device > Bluetooth.
- Search for available bluetooth devices.
- Make sure your device is not connected already with any other system.
- After your mouse is detect, click on it and press on connect.